CNC machining and 3D printing are often pitched as rivals, but on the shop floor they answer different questions. One removes material to hit a tolerance; the other adds material to hit a shape. Choosing between subtractive and additive manufacturing is rarely about which technology is newer or more capable — it is about where the cost curve, the tolerance requirement, and the material spec put the breakeven. This article lays out, in engineering terms, when CNC machining is the cheaper and safer call, and where additive manufacturing earns its keep.
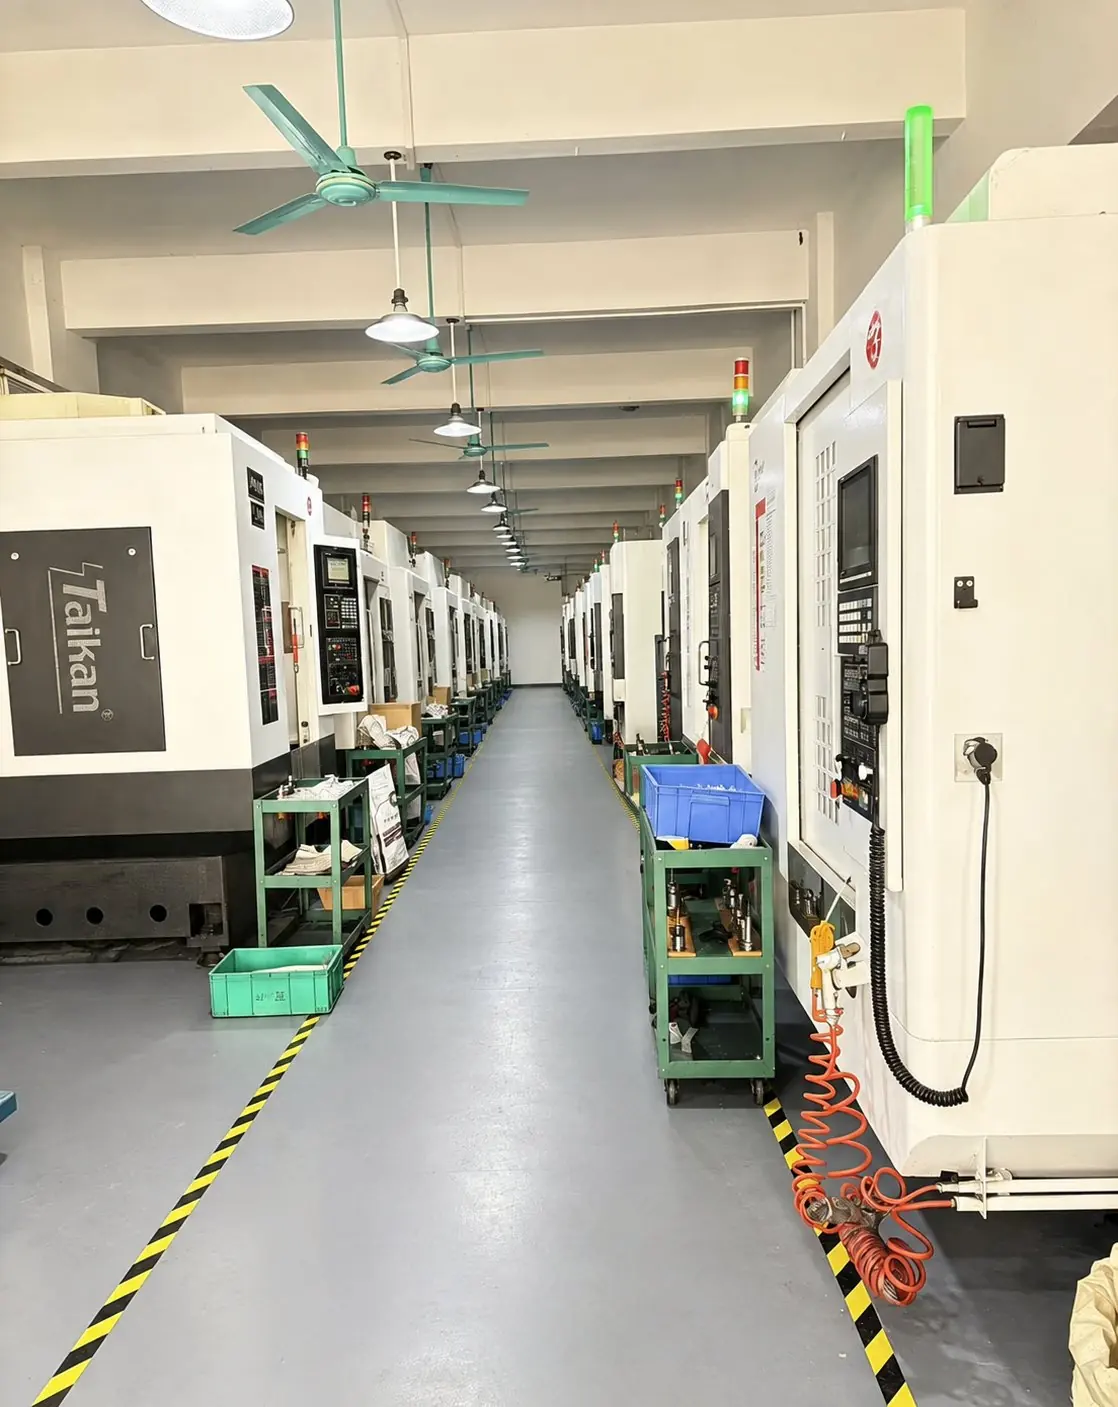
Subtractive and additive are different cost models, not the same tool
CNC machining starts with a solid block and removes what you do not need. Every part therefore carries the cost of the raw stock plus the machine time to clear it. 3D printing, by contrast, builds layer by layer and only consumes the material that ends up in the part, plus whatever support structure the geometry demands. The immediate consequence is that for a very low count — a single prototype or a handful of fixtures — additive can sidestep the setup, fixturing, and programming overhead that a CNC job books before the first chip. But the comparison flips as geometry gets simpler and quantities climb. A CNC mill or lathe spreads its fixed setup across every part it runs; an additive machine essentially re-pays a large slice of the build cost on every single piece because each layer is a fresh deposition pass. The two cost models cross, and where they cross is the single most useful number in process selection.
Both methods also treat material differently. Subtractive work is done from stock with a known mill certificate — the aluminum you machine is the aluminum you get, with its published tensile and yield figures intact. Additive material is created during the build, and its properties depend on powder or filament chemistry, layer adhesion, and thermal history. That difference shows up directly in load-bearing and sealed applications, where a machined 6061-T6 part and a printed polymer part are simply not interchangeable even when their outer shapes match. The choice is not aesthetic; it is a question of which cost model and which material route the function can actually live with.
Reading the two as competitors also misses how often they cooperate. A common production path is to print a complex pre-form and then machine the functional faces to a tight fit — you get additive's shape freedom and subtractive's accuracy in one part. Treating them as a spectrum rather than a binary is the first step to a sensible process call.
Where CNC machining is the clear winner
Tolerance is the first line. CNC machining routinely holds features in the ±0.05 mm range on a normal day and can push tighter with slower finishing and in-process measurement, whereas fused deposition and resin printing typically sit an order of magnitude looser and fight drift as the build height grows. If the part has to locate, seal, or mate with a tight fit, subtractive is the default. A bolt circle that must line up, a bore that must press-fit, a face that must sit flat against a gasket — these are machined parts before they are anything else.
Material performance is the second line. Machined parts keep the bulk properties of the stock: isotropic strength, known fatigue behavior, and full density. 3D-printed parts — especially polymer and bound-metal routes — carry anisotropy from the layer direction and porosity from the build process, which limits them in structural and pressure-bearing roles. For a 6061-T6 bracket that carries load, anodizes for corrosion resistance, and must hold a flat mating face, CNC is not just cheaper at volume; it is the only route that meets the spec as written.
Surface finish and post-processing round it out. A milled face can leave a clean, controllable finish and take anodize or plating directly. Printed parts usually need support removal, curing, and machining of functional faces anyway, which erodes the "no tooling" advantage the moment a real fit is required. When the part's value is in its accuracy and its material grade rather than its shape, subtractive wins on cost and on risk at the same time.
Where 3D printing earns its place
Geometry is additive's home ground. Internal cooling channels, lattices, topology-optimized shells, and consolidated assemblies that would need five machined pieces and a weld — these are free in a print and expensive or impossible on a mill. When the value of the part is in its shape rather than its material grade, additive wins regardless of volume, because the alternative is not "machine it cheaper," it is "machine it at all." Complexity that does not add setup cost is the defining advantage of the layer-by-layer approach.
Very low quantities are the second case. A one-off jig, a trade-show model, a bracket that will be revised three times before it is frozen — spending an hour at a printer versus a day of programming, fixturing, and first-article on a CNC beats the economics every time, even before you count the iteration speed. Designers can print, handle, and redesign in the same afternoon, which is why additive dominates the earliest stages of product development where the geometry is still moving.
Material efficiency closes the argument for expensive stock. Titanium or specialty polymer that would be mostly sacrificed as swarf in subtractive can be deposited only where needed in additive, and when the raw material price dominates the part cost, that savings can outweigh the slower build. The catch is that the saving only materializes when the geometry is genuinely hard to machine and the volume is low enough that setup amortization does not flip the math. Print the part because the shape demands it, not because the brochure says additive is the future.
The cost inflection point — where the curves cross
The breakeven between CNC and additive is driven by two variables: how many parts you need, and how much material each part throws away. A simple, mostly-solid part with a long run favors CNC because the machine amortizes its setup across thousands of pieces while additive re-pays deposition on every one. A complex, hollow, low-count part favors additive because CNC would burn hours of machining time clearing material it is about to discard.
Order-of-magnitude, the crossover for a typical small aluminum component often sits in the range of a few tens to a few hundred pieces, depending on geometry and how much stock is wasted. Below that band, additive's near-zero setup keeps it ahead; above it, subtractive's per-part efficiency takes over. The table below frames the trade in typical ranges rather than a single number, because the exact crossing moves with wall thickness, aspect ratio, and material cost.
| Factor | Favors CNC machining | Favors 3D printing | Why it moves the call |
|---|---|---|---|
| Setup overhead | High volume (hundreds+) | One-off to low volume | CNC amortizes programming and fixturing; a print re-pays the build on every piece |
| Geometry complexity | Prismatic, simple | Hollow, internal channels, lattices | Print builds complexity for free; CNC clears wasted material |
| Tolerances | ±0.05 mm and tighter | Looser than ±0.1–0.2 mm typical | CNC holds the fit; print drifts with build height |
| Material properties | Load-bearing, sealed, isotropic | Non-structural, concept, cosmetic | Machined stock keeps certified bulk properties |
| Material cost sensitivity | Low waste / cheap stock | Expensive stock, low volume | Print deposits only the material needed |
| First-part lead time | Hours to days (setup) | Hours (direct from file) | Print skips programming and fixturing entirely |
Use the table as a first filter, not a verdict. A part that scores five rows for CNC but one decisive row for print — say, an impossible internal channel — still goes to additive. The breakeven is a guide to where the argument starts, not a rule that overrides a hard requirement.
Material properties: the part you print is not always the part you machine
Anisotropy is the quiet differentiator. A CNC-turned or milled part is cut from stock whose grain and chemistry are uniform through the section, so its strength is roughly the same in every direction. A printed part is laminated: each layer bonds to the one below, and that bond is almost always weaker than the in-plane deposit. In polymers the through-thickness direction can be meaningfully softer; in metal powder-bed builds the same holds unless the part is rotated and re-sintered. For a bracket that sees a bending load along one axis, the difference may be acceptable; for a fitting under multi-axis fatigue, it is a design risk that has to be engineered around, not assumed away.
Density and sealing matter for fluid parts. Machined 6061-T6 is fully dense and takes a pressure-rated anodized finish; a printed porous part can weep until it is infiltrated or hot-isostatic-pressed, which adds cost and process steps. If the part holds a vacuum, a fluid, or a load, the material route deserves the same scrutiny as the geometry route. Additive is excellent for the form; subtractive is usually the safer call for the function, and the two are reconciled by printing the shape and machining the sealing faces.
Certification is the final gate. Stock aluminum comes with a mill cert that travels with the part through finishing and inspection. A printed material's properties are a function of the specific machine, parameters, and orientation on that build, which makes repeatability across suppliers harder to guarantee without a controlled, documented process. For a one-off that proves a concept, nobody notices. For a part that goes into a product and has to be the same next year, the documentation trail matters as much as the part itself.
"Process selection is not about picking the newer machine. It is about matching the cost model to the quantity and the material spec to the load. Most parts forced onto the wrong process fail on the second axis, not the first — they print fine but will not carry the load, or they machine clean but cost too much at ten pieces."
A decision checklist before you pick a process
Run the part through this list before it goes to a quote. Every item is a lever that moves the breakeven, and most process mistakes come from skipping one of them and discovering the gap after the first batch is ordered.
- Start with quantity. One to a few pieces with a soft spec → print. Hundreds with a tight fit → machine.
- Map the tolerance. Anything tighter than about ±0.1 mm on a functional face → CNC, because print drift grows with build height.
- Check the load path. Load-bearing, sealed, or fatigue-critical → machine from certified stock; print only where the load is light.
- Count the waste. If CNC would clear most of a block of expensive material → additive may win on material cost alone.
- Look at the geometry. Internal channels, lattices, consolidated assemblies → print; prismatic solids → machine.
- Decide the finish. Needs anodize or plating on functional faces → machine those faces, or plan to machine them post-print.
- Budget the first article. Need it today and it will change → print; need it right and repeatable → machine.
- Don't over-specify. Relax the tolerance or simplify the shape so one process can do both jobs instead of fighting the other.
- Split the part if needed. Print the complex body, machine the critical interfaces — hybrid builds often beat a forced pure choice.
- Quote both ways. For anything near the breakeven, the only real answer is a side-by-side cost from the same drawing.
The goal is not to declare a winner between subtractive and additive manufacturing. It is to send the part to the process whose cost model and material route fit what the part actually has to do. CNC machining owns tight tolerance, certified material, and rising volume; 3D printing owns complex shape, near-zero setup, and single-digit quantities. Pick on the function, confirm at the breakeven, and the part comes out right the first time — and cheap enough that you can make the next hundred.
Once the process is set, the next decision is the tolerance and finish the part can live with — see how our surface finishing options pair with machined and hybrid builds.